Energy Meter configuration
Energy meters are optional but recommended for Edge systems. They serve two primary functions:
- As a GUARD: protecting maximum current draw in a grid
- As a CONSUMER: measuring and compensating for uncontrollable loads (buildings, solar installations)
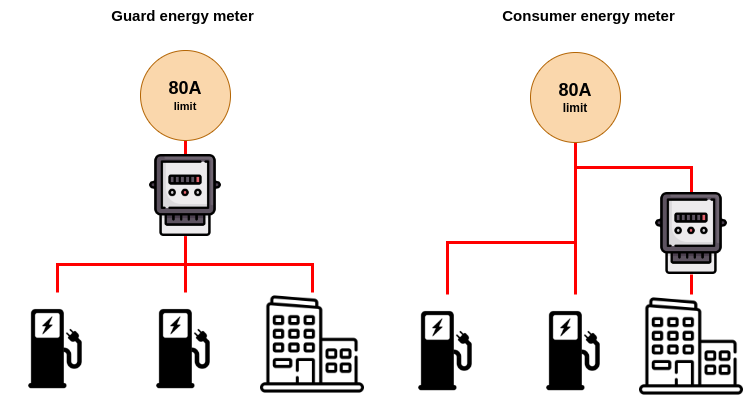
With both methods, Edge knows the total current that's taken from the grid, enabling Edge to load balancing and protect the fuse.
With the GUARD option, the measurements are most accurate and most up to date since Edge does not rely on the charger connectivity and metervalue-interval to know the total current consumption. Therefore this option is recommended
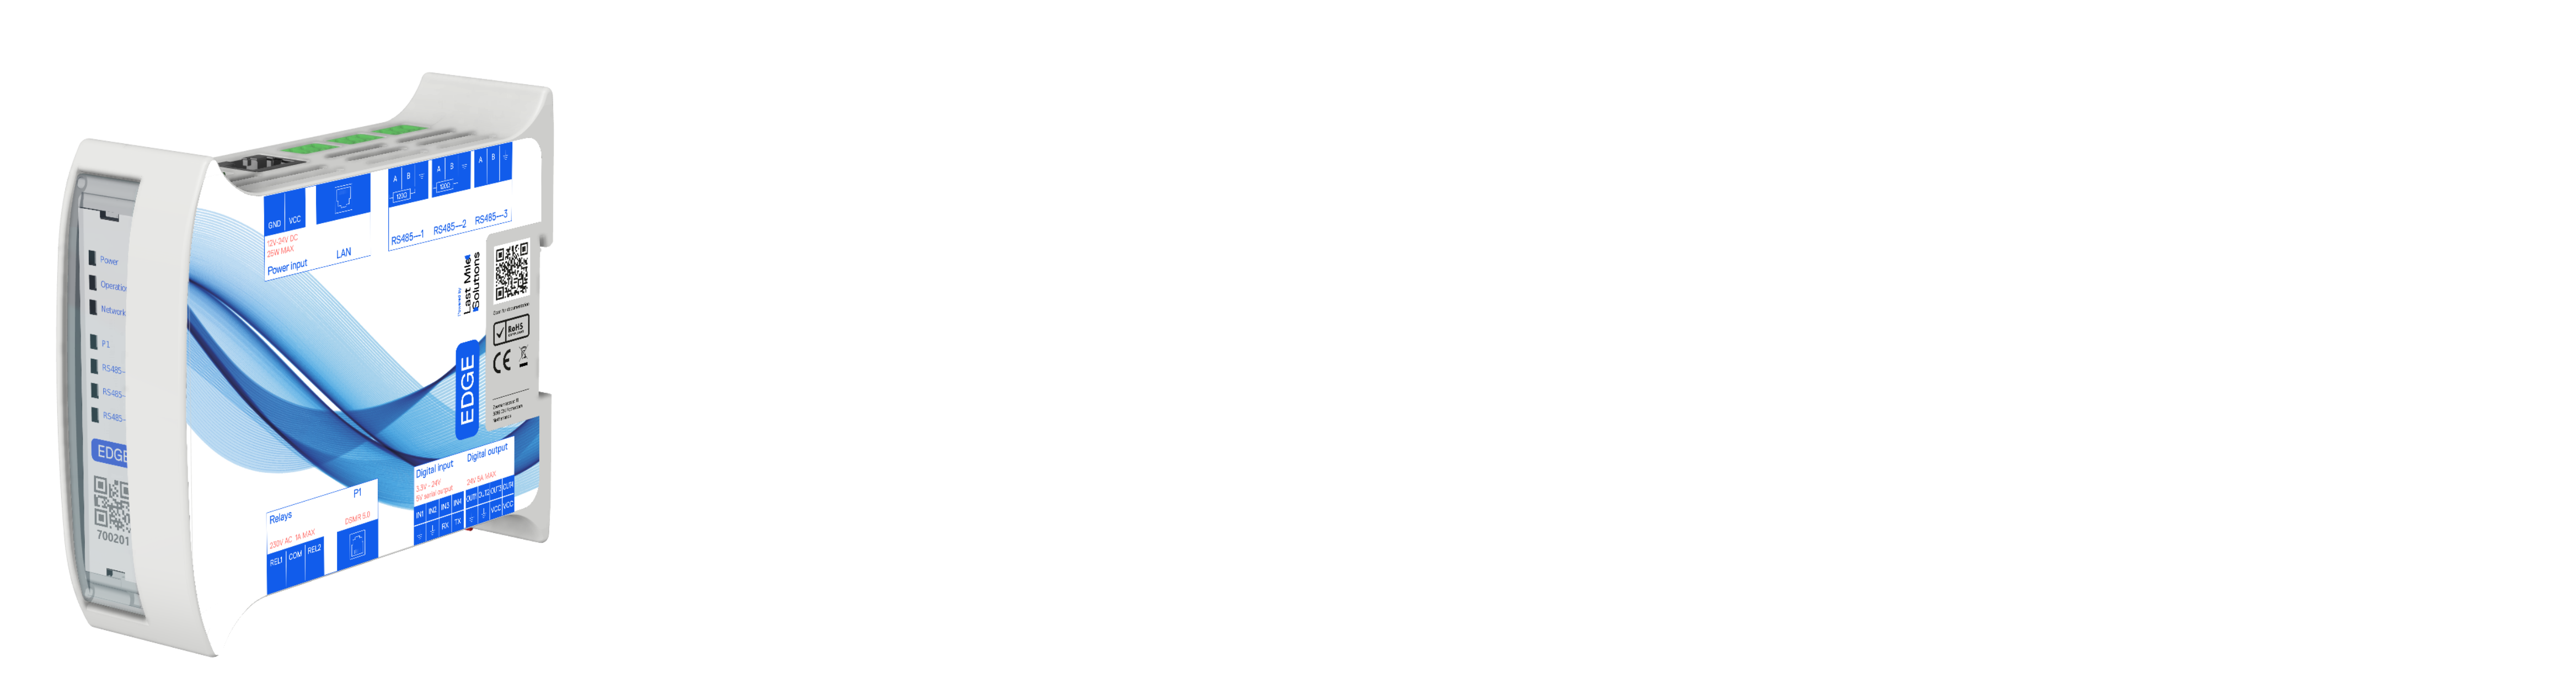
Step 1: Physical Connection
Install and connect a Modbus energy meter following the energy meter installation guide.
Step 2: Add the Meter in EdgeManager
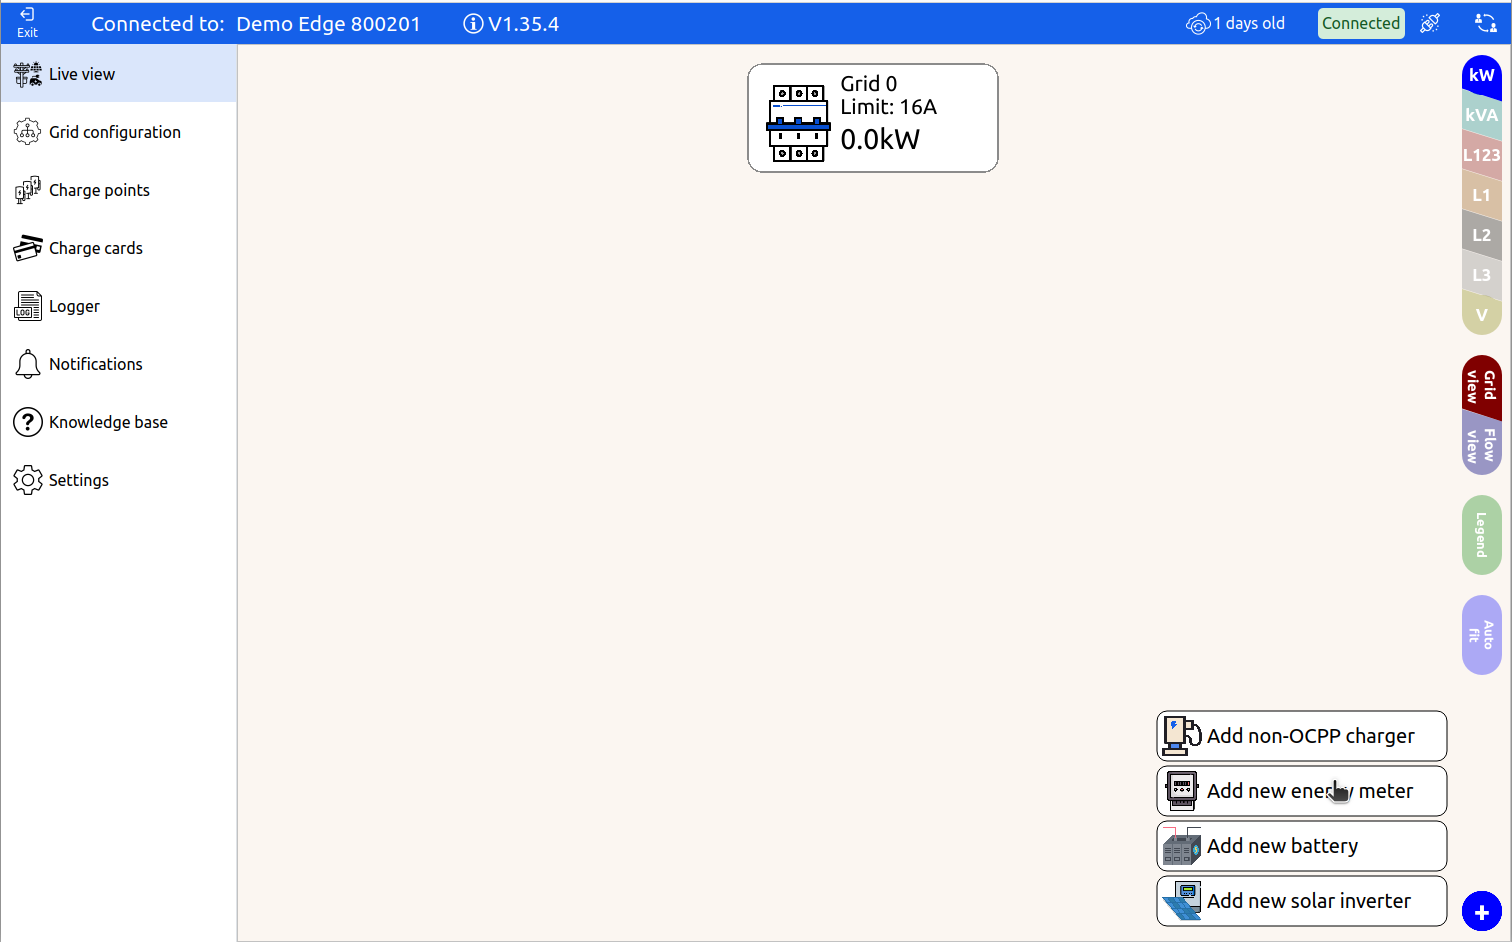
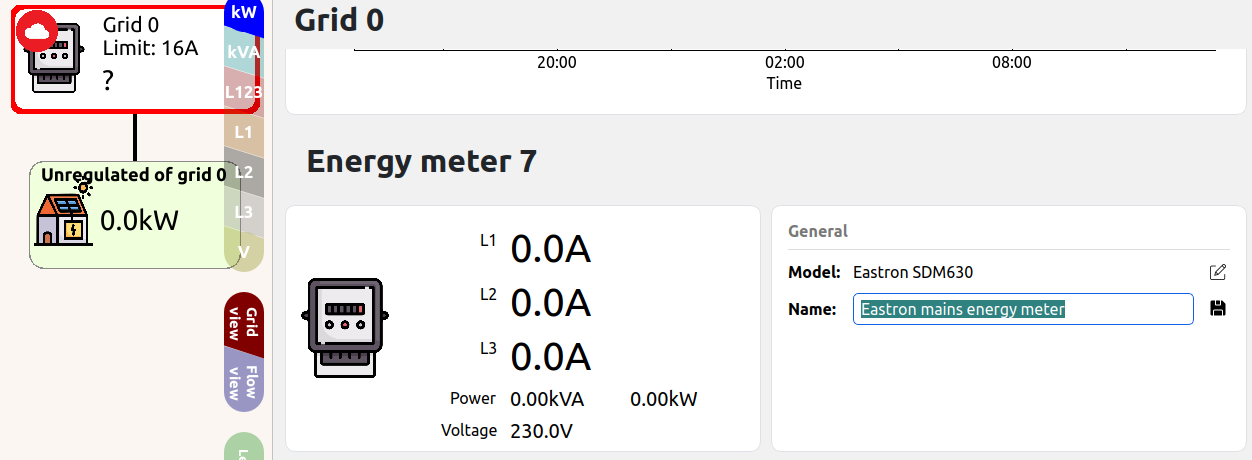
Open the Edge in EdgeManager, from the LiveView, if an energy meter shows up, click on the energy meter to configure it.
If you do not see an energy meter, click on the + button in the bottom-right corner to add a new energy meter.
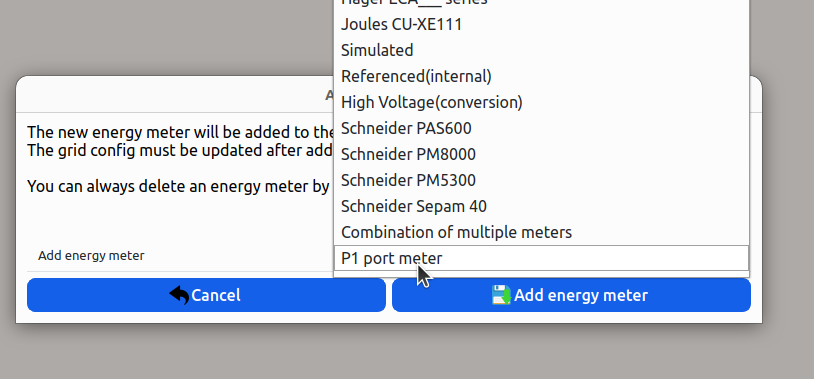
Step 3: Configure the Meter
Click on the energy meter to open the energy meter dashboard.
Basic settings
- Model — the energy meter model
- Name — user-specific name for the device
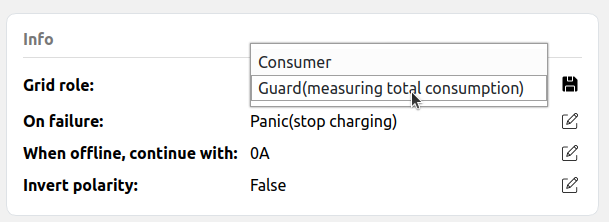
Grid role
- Grid Role — GUARD or CONSUMER
- On failure — how Edge responds if the meter goes offline
- Panic (default): shuts down grid if meter goes offline
- Safe current: allows continued operation at specified amperage
- Invert polarity— Invert all reading, used if the meter is installed backwards by accident
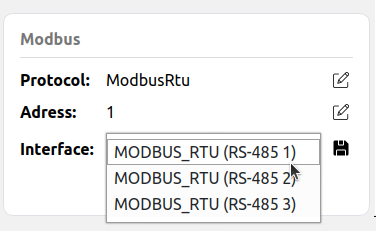
Protocol
Adjust the setting Protocol and set it to Modbus RTU or Modbus TCP depending on how the meter is connected. When saved continue with one of the guides below
Modbus RTU
-
Interface — which RS-485 port the energy meter is on
- Modbus address — the meter's Modbus address
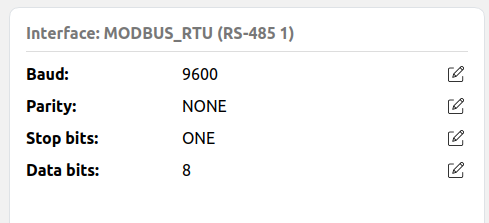
- Serial settings (baud rate, parity, stop bits) can be configured for the RS-485 port — these are shared for all devices on that port
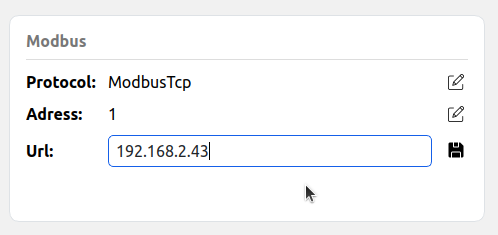
Modbus TCP
Use this when the energy meter is not reachable via RS-485 but is accessible over Ethernet — either directly (if the meter supports Modbus TCP natively) or via a Modbus TCP gateway.
- URL — the IP address or hostname of the meter or gateway (e.g.
192.168.0.100orlwip.lan) - Modbus address — the meter's Modbus address (must match the address configured on the meter or gateway). Most Modbus TCP energy meters ignore this value, so it can be left at 1.
- No interface or serial settings are required for Modbus TCP
Step 4: Add Meter to Grid
Configure grid assignment following the simple grid configuration example.
Related Articles
- How to Install Edge – Energy Meter Installation
- Supported Energymeters
- How to use a Modbus TCP gateway
- Private Network Requirements & Setup Guide
- Installation Requirements
[Todo: link to P1] #